Note
This page was generated from circuit-examples/E.Input-output-coupling/41-LaunchPad.ipynb.
CPW Launch Pad


💡 Running in Colab or Binder? Skip the desktop GUI install — the cell below grabs the lite (no-Qt) wheel, and
qm.gui(design)auto-picks an inline matplotlib viewer with the same API (gui.rebuild(),gui.screenshot(),gui.edit_component(...)) as the desktopMetalGUI.
[ ]:
# In Colab / Binder, uncomment to install Quantum Metal (lite, no Qt).
# Locally you should already have it via `pip install quantum-metal` or
# `pip install 'quantum-metal[gui]'` for the desktop GUI.
# !pip install -q quantum-metal
💡 Using this tutorial without the Qt GUI
This tutorial uses the desktop
MetalGUI. To follow along on Colab, Binder, JupyterHub, or any environment where Qt isn’t available, replace any ``gui.rebuild()`` / ``gui.screenshot()`` call with ``qm.view(design)`` — it renders the design to a matplotlibFigureyou can display inline or save withfig.savefig(...).See 1.1 Quick start for a complete runnable walkthrough and
`docs/headless-usage.rst<https://qiskit-community.github.io/qiskit-metal/headless-usage.html>`__ for the full reference.
Preparations
Import key libraries and open the Metal GUI. Also we configure the notebook to enable overwriting of existing components
[ ]:
from qiskit_metal import designs, draw
from qiskit_metal import MetalGUI, Dict, Headings

design = designs.DesignPlanar()
gui = MetalGUI(design)

# if you disable the next line, then you will need to delete a component [<component>.delete()] before recreating it
design.overwrite_enabled = True
[ ]:
from qiskit_metal.qlibrary.terminations.launchpad_wb_coupled import (
    LaunchpadWirebondCoupled,
)
[4]:
# Explore the options of the LaunchpadWirebondCoupled

LaunchpadWirebondCoupled.get_template_options(design)
[4]:
{'layer': '1',
 'trace_width': 'cpw_width',
 'trace_gap': 'cpw_gap',
 'coupler_length': '62.5um',
 'lead_length': '25um',
 'pos_x': '0um',
 'pos_y': '0um',
 'orientation': '0'}
[ ]:
# Setup the launchpad location and orientation
launch_options = dict(
    pos_x="990um", pos_y="2812um", orientation="270", lead_length="30um"
)

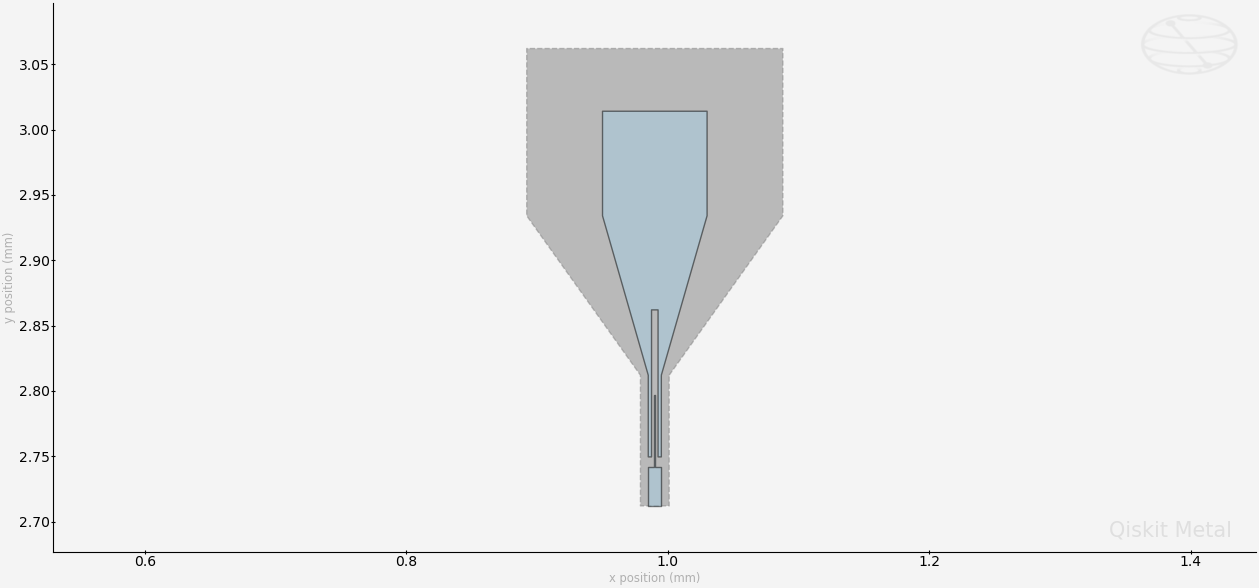
lp = LaunchpadWirebondCoupled(design, "P4_Q", options=launch_options)

gui.rebuild()
gui.autoscale()
[ ]:
# Get a list of all the qcomponents in QDesign and then zoom on them.
all_component_names = design.components.keys()

gui.zoom_on_components(all_component_names)
[7]:
# Look at the options of the launch pad in QDesign.
lp.options
[7]:
{'layer': '1',
 'trace_width': 'cpw_width',
 'trace_gap': 'cpw_gap',
 'coupler_length': '62.5um',
 'lead_length': '30um',
 'pos_x': '990um',
 'pos_y': '2812um',
 'orientation': '270'}
[8]:
# Save screenshot as a .png formatted file.
gui.screenshot()
[9]:
# Screenshot the canvas only as a .png formatted file.
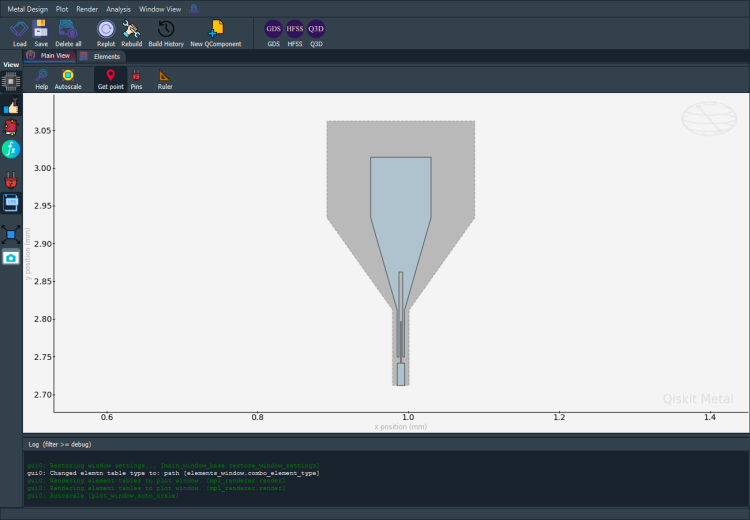
gui.figure.savefig("shot.png")

from IPython.display import Image, display

_disp_ops = dict(width=500)
display(Image("shot.png", **_disp_ops))
[10]:
# Closing the Qiskit Metal GUI
gui.main_window.close()
[10]:
True
[ ]:
For more information, review the Introduction to Quantum Computing and Quantum Hardware lectures below
|
Lecture Video | Lecture Notes | Lab |
|
Lecture Video | Lecture Notes | Lab |
|
Lecture Video | Lecture Notes | Lab |
|
Lecture Video | Lecture Notes | Lab |
|
Lecture Video | Lecture Notes | Lab |
|
Lecture Video | Lecture Notes | Lab |